Confessions of an Automationeer, Part 177: Beam Cams Explained
Today I'll explain a new kind of vanilla fixture that I've never bothered to use on any of my builds - until now. It's called a Beam Cam, and its purpose is to place a camera angle for use when the car is exported to BeamNG. Normally, I find this item to be of little use, since I haven't bought and installed BeamNG on my PC yet, but I've realized that I may have to submit a car for use in a challenge in which BeamNG testing is involved in some capacity. There are actually two variants of the Beam Cam fixture: one for a bonnet cam (which points forward and is placed on the car's bonnet), and another one for a driver cam (which also points forward, but should be placed as close to eye level on the driver's side as possible). Both variants can be found in the miscellaneous fixtures category - the first one from the right on the bottom row of fixture categories in the fixture tab.
The car I used as the subject of this post is the 2005 WM Warrior - a lightweight, all-aluminum, front-engined, rear-drive, 2-seat sports car powered by a 400-bhp 4.0-liter naturally-aspirated V8 engine mated to a six-speed manual gearbox and helical LSD, with dual wishbone front suspension and a multilink rear end, plus 4-wheel ABS-assisted large-diameter vented disc brakes housed behind lightweight forged alloy wheels wrapped in low-profile high-performance tires. All this hardware, when combined with a premium interior and stereo sound system (which includes sat-nav), ensures a balanced blend of sportiness and comfort, while a full set of airbags (frontal, side, and curtain on both sides) and electronic driving aids (stability and traction control) ensure that occupant safety is never neglected. Finally, a discreet aero kit (one lip each on the front and rear, plus a small rear spoiler fixture and a sealed undertray) help it cut through the air with ease.
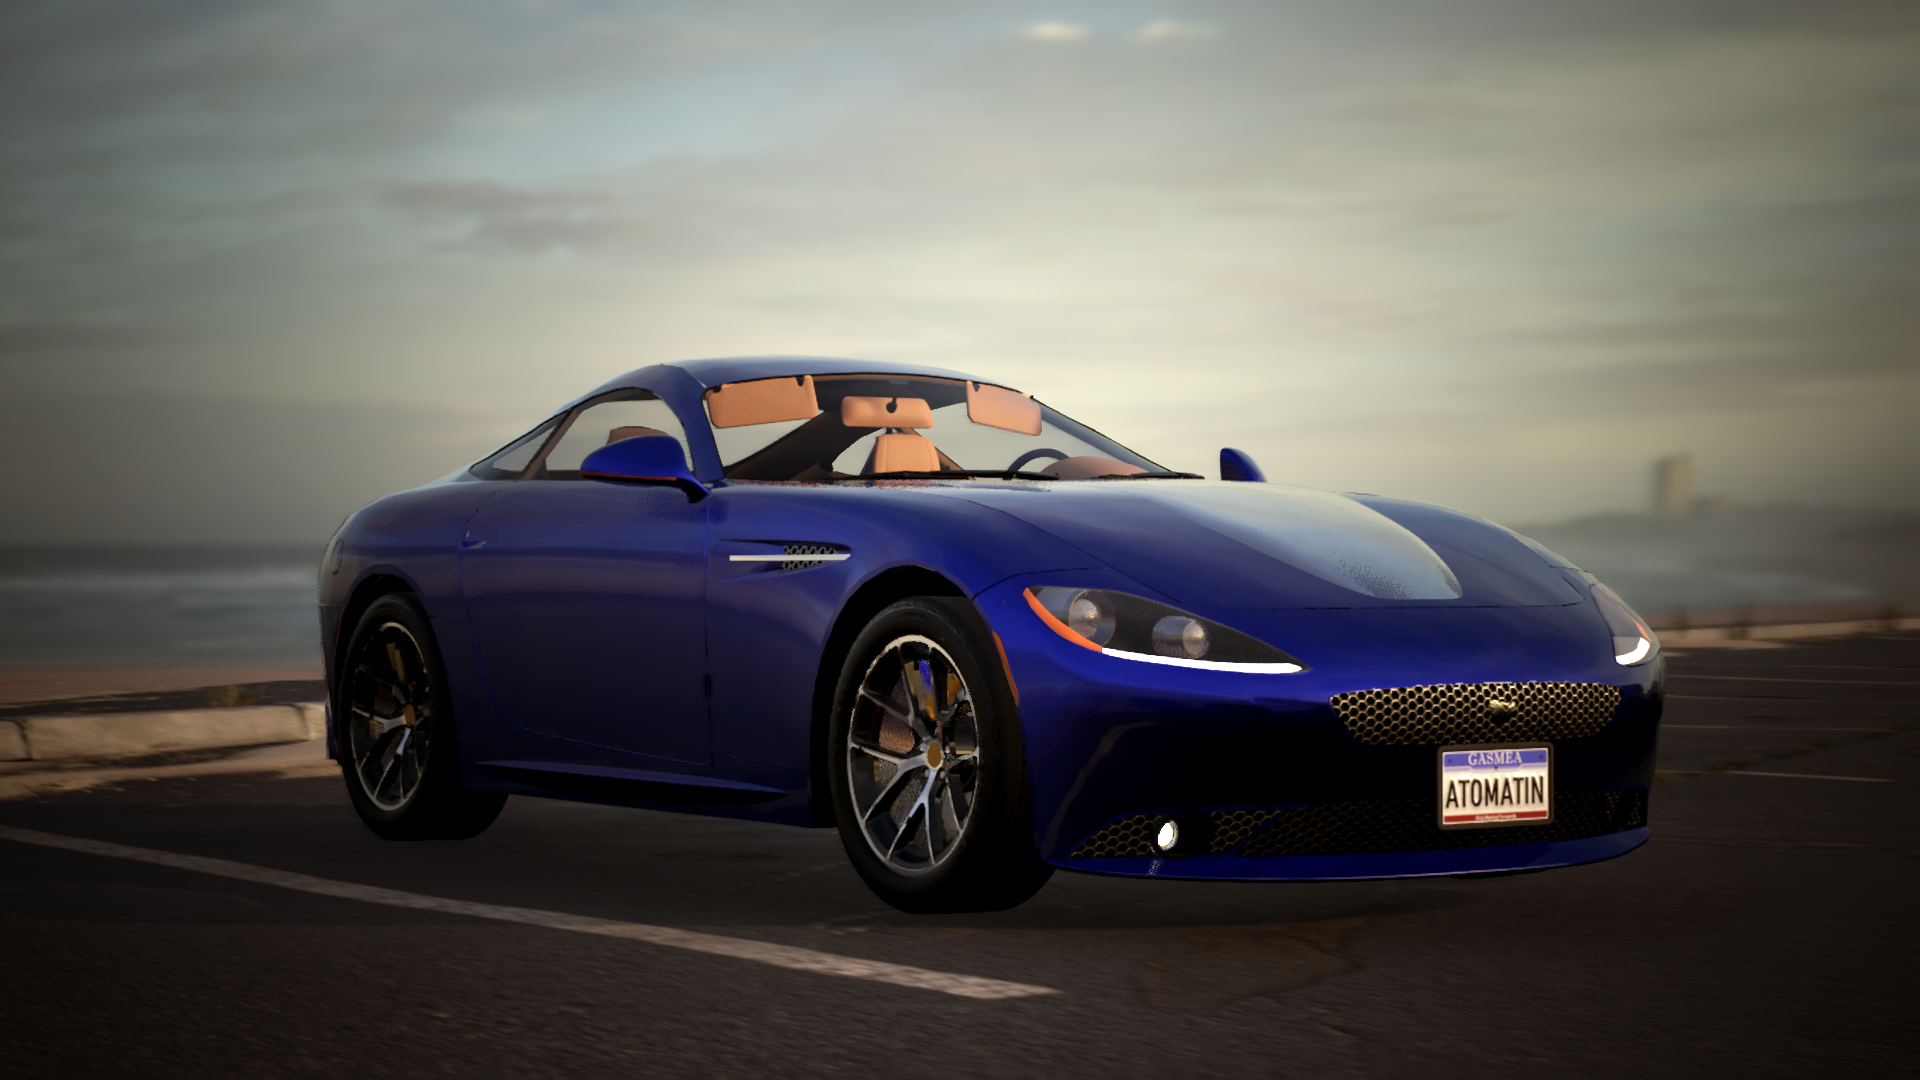


Above, from top: A quick look at the exterior and interior of the WM Warrior, the first of my Automation builds to have at least one Beam camera as standard.
Now that I've described the specs of this beauty, I'll explain where I placed the Beam cams. The driver cam is located just in front of the driver's seat, as it should be, and the bonnet cam is placed slightly ahead of the base of the windshield. Here they are, along with what their viewpoints are supposed to look like:

Above and below: Beam cams provide additional first-person camera angles for use in BeamNG. The driver cam (above), placed at eye level on the driver's side, adds an internal first-person viewpoint; the bonnet cam (below), placed on the car's body ahead of the windshield, adds an external first-person one. You can install either (or both) of these fixtures as you see fit if you want to do so. For each Beam cam, its viewpoint will be shown in the bottom-right corner of the screen.

Although I've recolored the Beam cam fixtures for clarity in both of the screenshots, I've exported the car with both fixtures set to a fully transparent finish, to ensure that nobody notices them when examining its exterior and interior.
I have yet to submit anything in a challenge that requires the fitment of either a driver or bonnet Beam Cam (or both), but it's nice to know that these fixtures can be selected and installed on any car - they can give you a new way to view the BeamNG world from on board your vehicle.
No comments:
Post a Comment